Welcome to the world of delightful summer desserts! When the sun is shining and the temperatures are rising, there’s nothing quite like indulging in a slice of moist, flavorful pound cake.
In this article, we’ll explore the art of crafting the perfect summer pound cake recipe.
From the essential ingredients to step-by-step instructions, get ready to elevate your baking game and impress your friends and family with this irresistible treat.
1. The Essence of Summer Pound Cake
Summertime calls for desserts that are light, refreshing, and bursting with flavor.
A summer pound cake embodies all these qualities and more.
Unlike its denser counterparts, this cake strikes the perfect balance between richness and airiness, making it the ideal dessert for warm weather gatherings, picnics, or simply as a sweet indulgence on a lazy afternoon.
2. Gathering Your Ingredients
Before diving into the baking process, let’s gather our ingredients. You’ll need:
2 cups all-purpose flour
1 cup granulated sugar
1 cup unsalted butter, softened
4 large eggs, at room temperature
1 teaspoon vanilla extract
1/2 teaspoon salt
1/2 cup milk
Zest of one lemon (optional)
Fresh berries for garnish (optional)
3. Preparing Your Kitchen
Ensure your kitchen is prepped and ready for baking.
Preheat your oven to 350°F (175°C) and grease a standard loaf pan with butter or non-stick cooking spray.
This will prevent your cake from sticking to the pan and ensure easy removal once it’s baked to perfection.
4. Mixing the Batter
In a large mixing bowl, cream together the softened butter and granulated sugar until light and fluffy.
Add the eggs one at a time, beating well after each addition.
Stir in the vanilla extract and lemon zest, if using.
Gradually add the flour and salt, alternating with the milk, until the batter is smooth and well combined.
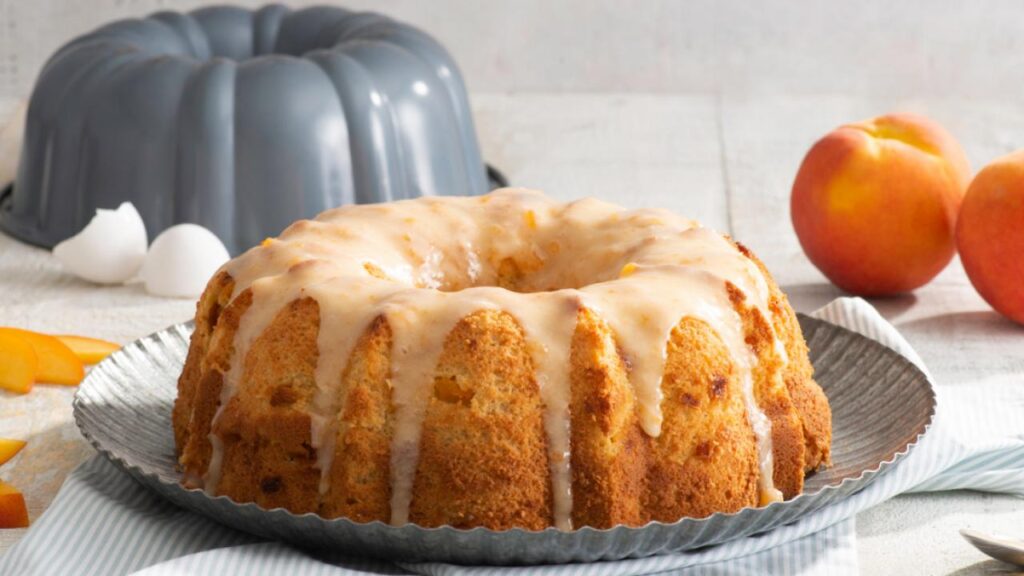
5. Baking to Perfection
Pour the batter into the prepared loaf pan, spreading it evenly with a spatula.
Place the pan in the preheated oven and bake for 50-60 minutes, or until a toothpick inserted into the center comes out clean.
Keep an eye on your cake as baking times may vary depending on your oven.
Once baked, remove the cake from the oven and let it cool in the pan for 10-15 minutes before transferring it to a wire rack to cool completely.
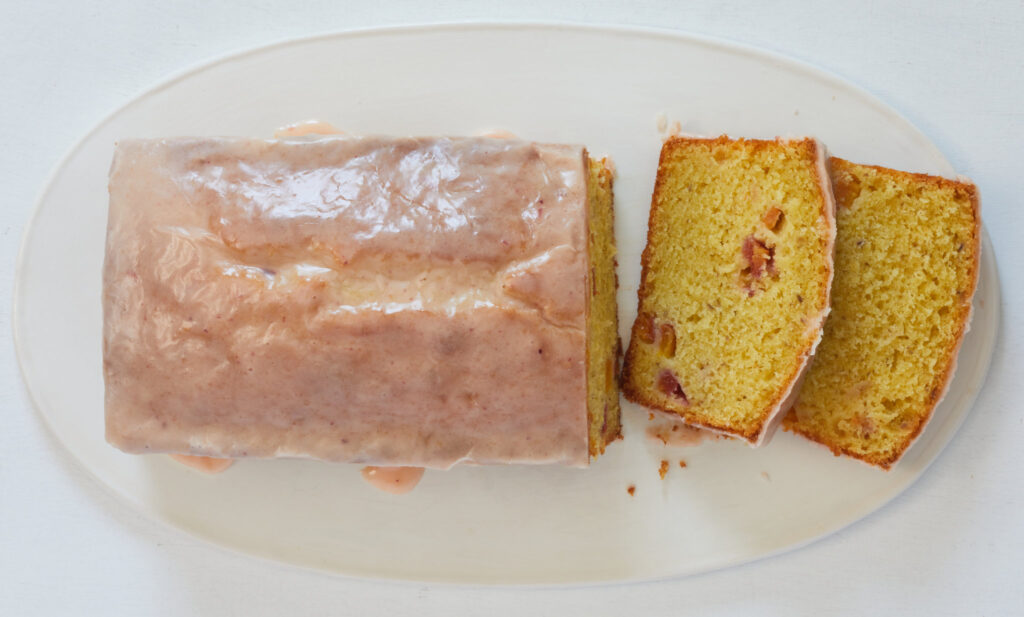
6. Serving Suggestions
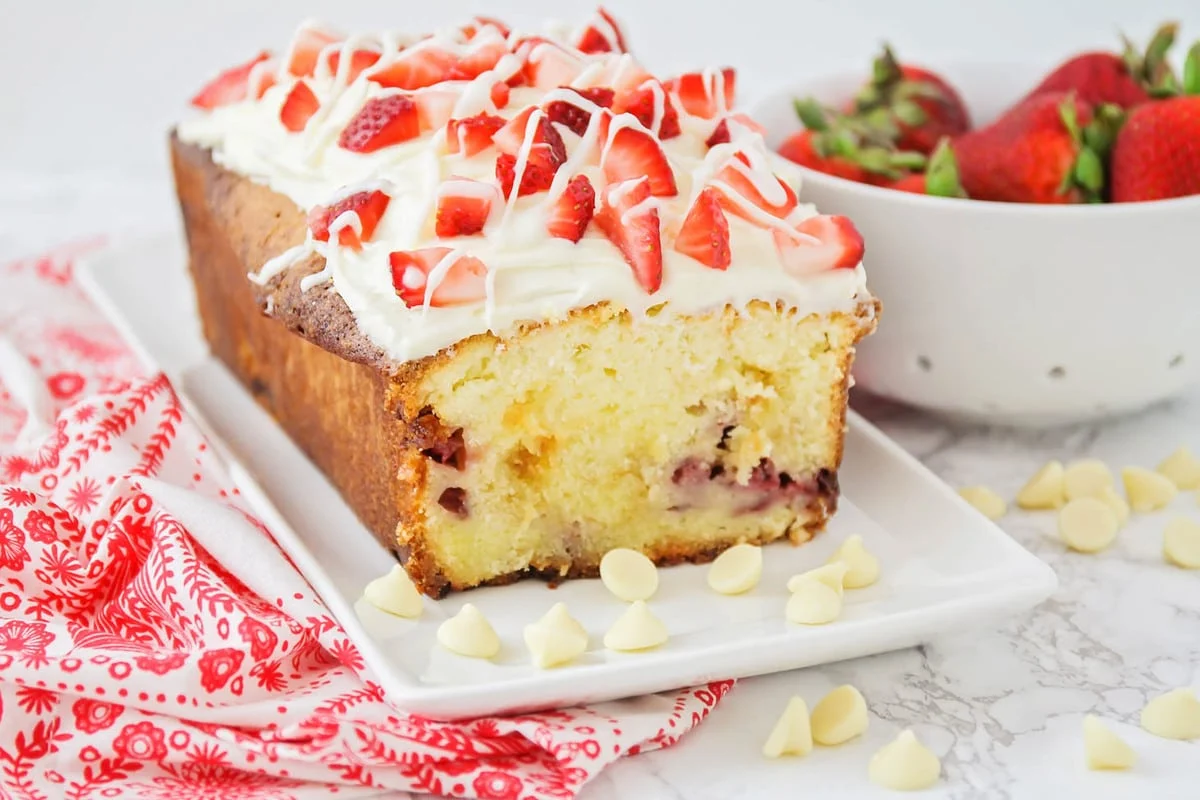
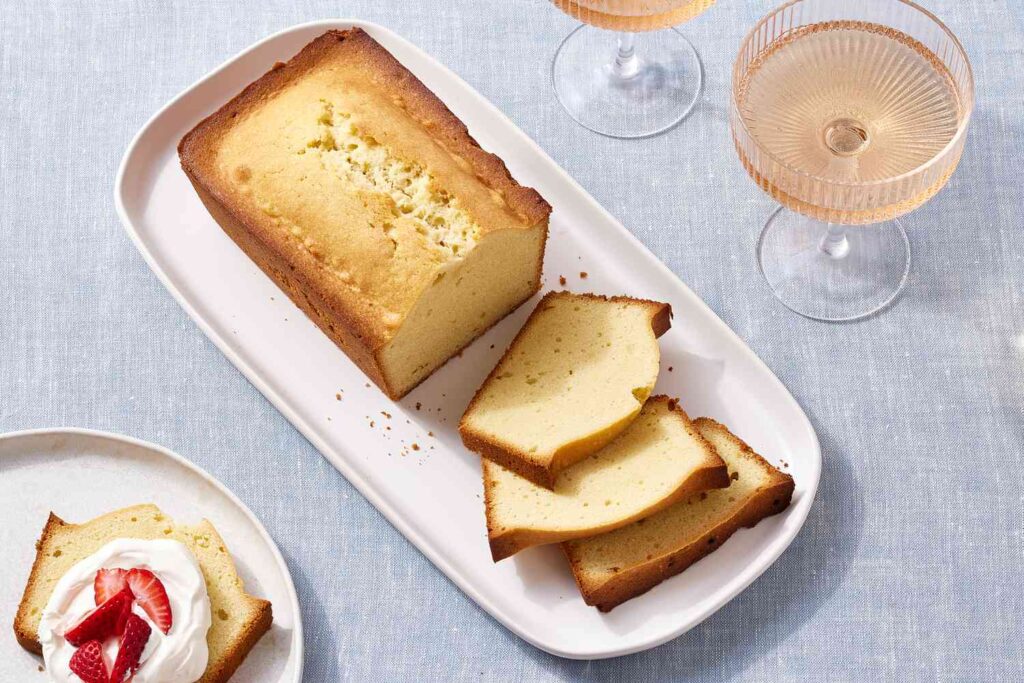
Once your summer pound cake has cooled, it’s time to serve and enjoy! Slice the cake into thick, generous portions and garnish with fresh berries for a burst of color and flavor.
This cake pairs perfectly with a dollop of whipped cream or a scoop of vanilla ice cream for an extra indulgent treat.
7. Conclusion
In conclusion, a homemade summer pound cake is the epitome of seasonal baking bliss.
With its buttery crumb and delicate flavor, it’s sure to be a hit at any summer gathering or as a simple pleasure enjoyed on a warm afternoon.
So gather your ingredients, preheat your oven, and get ready to savor the sweetness of summer with this delightful recipe.
Frequently Asked Questions (FAQs):
Q1: Can I substitute the all-purpose flour with a gluten-free alternative?
A1: While you can experiment with gluten-free flours, keep in mind that the texture and flavor of the cake may vary.
Q2: Can I use salted butter instead of unsalted butter?
A2: Yes, you can, but adjust the amount of salt in the recipe accordingly to avoid an overly salty cake.
Q3: How long does a summer pound cake stay fresh?
A3: When stored in an airtight container at room temperature, a summer pound cake will stay fresh for up to three days.
You can also refrigerate it for longer shelf life.
Q4: Can I add nuts or chocolate chips to the batter?
A4: Absolutely! Feel free to customize your summer pound cake with your favorite mix-ins for added texture and flavor.
Q5: Can I freeze leftover pound cake slices?
A5: Yes, pound cake freezes well.
Wrap individual slices tightly in plastic wrap and store them in a freezer-safe container for up to three months.
To enjoy, simply thaw at room temperature or gently reheat in the microwave.