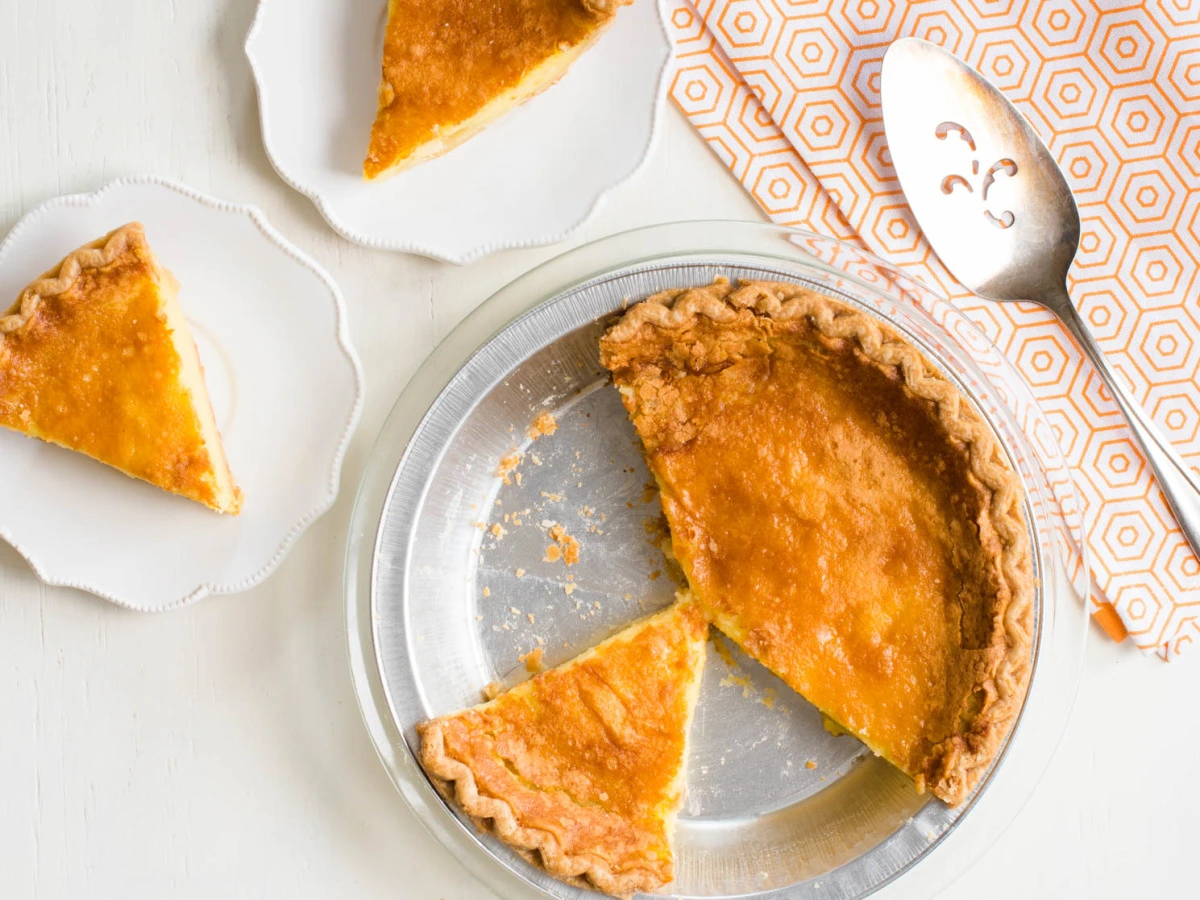
Craving a dessert that’s both comforting and irresistibly delicious? Look no further than the classic buttermilk pie.
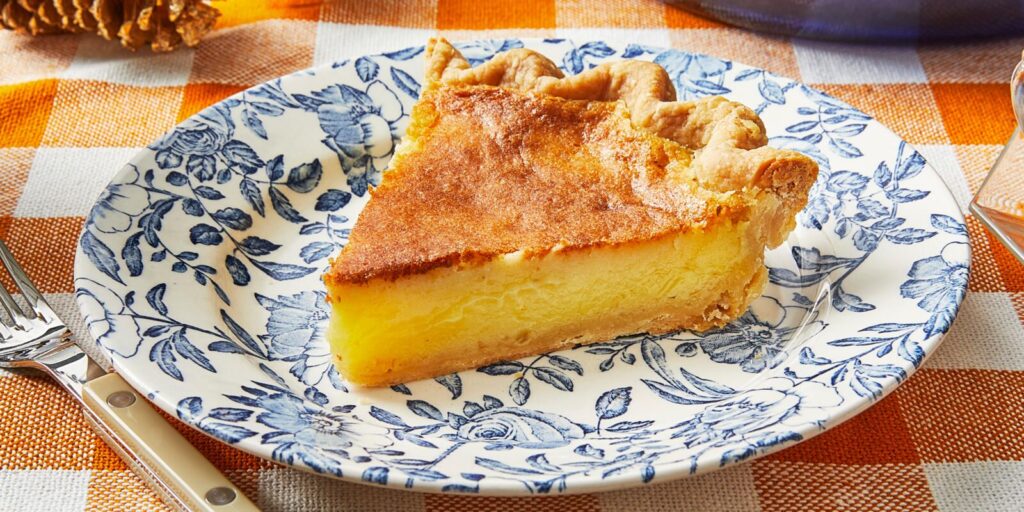
This Southern favorite is known for its creamy texture, tangy flavor, and perfectly sweet finish.
If you’ve never tried buttermilk pie before, you’re in for a treat.
It’s the kind of dessert that feels like a warm hug, perfect for any occasion, whether it’s a family gathering or just a cozy night at home.
Ready to get baking? Let’s dive into the world of buttermilk pie!
The Charm of Buttermilk Pie
Buttermilk pie might not be as famous as its cousin, the custard pie, but it has a charm all its own.
The beauty of this pie lies in its simplicity.
Made with basic ingredients you probably already have in your kitchen, it comes together quickly and bakes into a rich, custardy delight.
Plus, the tang of buttermilk adds a unique twist that sets it apart from other pies.
The History Behind Buttermilk Pie
Before we get into the recipe, let’s take a moment to appreciate the history of buttermilk pie.
Originating in the Southern United States, this pie was a staple during the Great Depression because it required inexpensive and readily available ingredients.
Farmers, in particular, loved this pie because buttermilk was a common byproduct of butter churning.
Over the years, buttermilk pie has become a beloved dessert, cherished for its simplicity and nostalgic flavors.
Essential Ingredients
Buttermilk – The Star of the Show
Buttermilk is the key ingredient that gives this pie its distinctive tang and creamy texture.
It’s essential not to substitute it with regular milk, as the acidity of buttermilk is crucial for the pie’s flavor and consistency.
A Perfectly Flaky Crust
The crust can make or break a pie. For buttermilk pie, a homemade flaky pie crust works best.
If you’re short on time, a good quality store-bought crust will do, but nothing beats the taste and texture of a homemade one.
Simple Pantry Staples
Aside from buttermilk and crust, you’ll need a few simple ingredients: eggs, sugar, butter, flour, vanilla extract, and a touch of lemon zest.
These pantry staples come together to create a harmonious blend of flavors.
Preparing Your Pie Crust
Homemade Crust Recipe
If you decide to go the homemade route, here’s a simple recipe:
Ingredients:
- 1 1/4 cups all-purpose flour
- 1/2 cup unsalted butter, chilled and cut into small cubes
- 1/4 teaspoon salt
- 1/4 cup ice water
Instructions:
- Combine flour and salt in a large bowl.
- Add the chilled butter cubes and use a pastry cutter or your hands to mix until the mixture resembles coarse crumbs.
- Gradually add ice water, one tablespoon at a time, until the dough begins to come together.
- Form the dough into a disk, wrap it in plastic wrap, and refrigerate for at least 30 minutes.
- Roll out the dough on a floured surface and fit it into your pie dish. Trim and crimp the edges.
Using Store-Bought Crust
If you opt for convenience, just make sure to follow the package instructions for thawing and fitting it into your pie dish.
A good tip is to pre-bake the crust for a few minutes to prevent it from getting soggy once you add the filling.
Making the Buttermilk Pie Filling
Gather Your Ingredients
Here’s what you’ll need for the filling:
- 1 1/2 cups granulated sugar
- 3 tablespoons all-purpose flour
- 1/2 cup unsalted butter, melted and slightly cooled
- 3 large eggs
- 1 cup buttermilk
- 1 teaspoon vanilla extract
- Zest of one lemon (optional, but recommended for extra flavor)
Step-by-Step Instructions
- Preheat the Oven: Start by preheating your oven to 350°F (175°C).
- Mix Dry Ingredients: In a large bowl, whisk together the sugar and flour until well combined.
- Add Wet Ingredients: Add the melted butter, eggs, buttermilk, and vanilla extract to the dry ingredients. If you’re using lemon zest, add it now.
- Combine: Mix everything together until you have a smooth batter. You can use a hand mixer or whisk it by hand.
- Pour into Crust: Pour the filling into your prepared pie crust.
- Bake: Bake for about 50-60 minutes, or until the top is golden and the center is set. A toothpick inserted into the center should come out clean.
- Cool: Allow the pie to cool completely before slicing. This helps the filling to set properly.
Tips for the Perfect Buttermilk Pie
Use Room Temperature Ingredients
Using room temperature eggs and butter ensures that your filling mixes smoothly and bakes evenly.
Don’t Overbake
Keep an eye on your pie towards the end of the baking time.
Overbaking can cause the filling to crack. It should be just set with a slight wobble in the center.
Let it Cool
Patience is key. Letting the pie cool completely allows the filling to firm up, making it easier to slice and more enjoyable to eat.
Serving Suggestions
Classic and Simple
Serve your buttermilk pie as is, at room temperature or chilled.
It’s delightful on its own and doesn’t need much to shine.
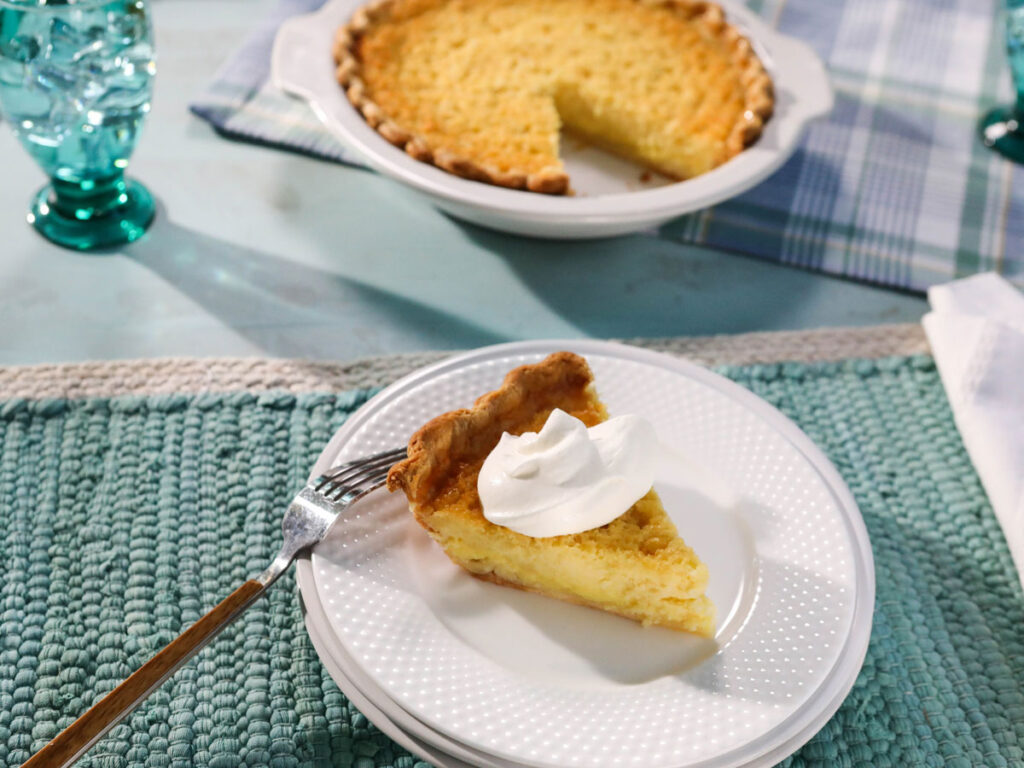
With a Dollop of Whipped Cream
A dollop of freshly whipped cream adds a luxurious touch.
You can also sprinkle a bit of nutmeg or cinnamon on top for extra flavor.
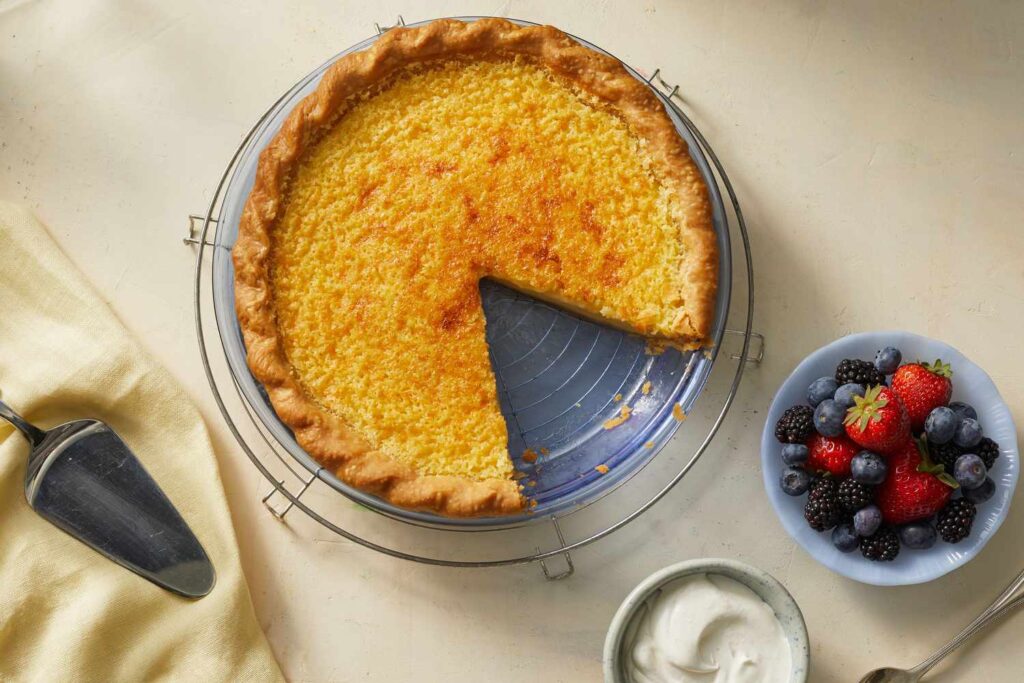
Fresh Fruit Toppings
Pair your pie with fresh berries or a fruit compote.
The tartness of the berries complements the creamy, sweet filling beautifully.
Variations to Try
Chocolate Buttermilk Pie
For a chocolaty twist, add 1/4 cup of cocoa powder to the filling mixture.
It’s a delightful variation that chocolate lovers will adore.
Coconut Buttermilk Pie
Add 1/2 cup of shredded coconut to the filling for a tropical take on the classic.
Toasted coconut on top makes it even better.
Spiced Buttermilk Pie
Incorporate warm spices like cinnamon, nutmeg, and a pinch of cloves into the filling.
Perfect for the cooler months or when you’re craving something cozy.
Storing and Reheating
Storing Leftovers
Store any leftover pie in the refrigerator. It will keep well for up to 4 days.
Cover it with plastic wrap or store it in an airtight container.
Reheating Tips
To enjoy your buttermilk pie warm, gently reheat slices in the microwave for about 10-15 seconds.
Be careful not to overheat, as this can cause the filling to become too soft.
The Perfect Pie for Any Occasion
Buttermilk pie isn’t just for holidays or special occasions.
Its simplicity and delicious flavor make it a great dessert choice for any day of the week.
Whether you’re serving it to guests or enjoying a slice with your afternoon coffee, this pie is sure to bring a smile to your face.
Conclusion
There you have it – the ultimate guide to making a delicious buttermilk pie.
With its creamy texture, tangy flavor, and sweet finish, this pie is a true Southern classic that’s easy to make and even easier to enjoy.
So why wait? Grab your ingredients, preheat your oven, and get ready to bake a pie that will become a new favorite in your dessert repertoire.
FAQs
1. Can I make buttermilk pie ahead of time?
Yes, you can! Buttermilk pie can be made a day in advance and stored in the refrigerator.
Just be sure to let it cool completely before covering and refrigerating.
2. Can I freeze buttermilk pie?
Absolutely. Wrap the cooled pie tightly in plastic wrap and then in aluminum foil. Freeze for up to 2 months.
Thaw overnight in the refrigerator before serving.
3. What if I don’t have buttermilk?
You can make a buttermilk substitute by adding 1 tablespoon of white vinegar or lemon juice to 1 cup of milk.
Let it sit for 5 minutes before using.
4. Can I use a store-bought crust?
Yes, a store-bought crust works just fine if you’re short on time.
Just follow the package instructions for pre-baking.
5. Why is my pie filling runny?
If your pie filling is runny, it may not have been baked long enough.
Ensure it’s set with a slight wobble in the center before removing it from the oven.
Also, letting it cool completely helps the filling to firm up.